Welcome to the Avapow Jump Starter Manual, your comprehensive guide to understanding and using this powerful portable jump starter. This manual ensures safe and effective operation, helping you unlock its full potential while maintaining optimal performance and longevity.
Overview of the Avapow Jump Starter
The Avapow Jump Starter is a portable, multi-functional device designed to jump-start vehicles with 12V batteries. It features high peak currents, compatible with gasoline and diesel engines, and includes additional functions like LED lights for emergencies and USB/DC outputs for charging devices. Available in models such as the A27 and A68, it offers reliable performance for various vehicle sizes, ensuring convenience and safety on the go.
Importance of the User Manual
The Avapow Jump Starter Manual is essential for proper usage, ensuring safety and effectiveness. It provides detailed instructions, safety guidelines, and troubleshooting tips, helping users maximize the device’s potential while avoiding common mistakes. Referencing the manual is crucial for understanding compatibility, charging procedures, and maintenance, ensuring optimal performance and longevity of the jump starter.

Key Features and Specifications of the Avapow Jump Starter
The Avapow Jump Starter offers high peak current, large battery capacity, and compatibility with both gasoline and diesel engines. It includes an LED light, USB charging, and DC output for added convenience, making it a versatile and reliable emergency power solution.
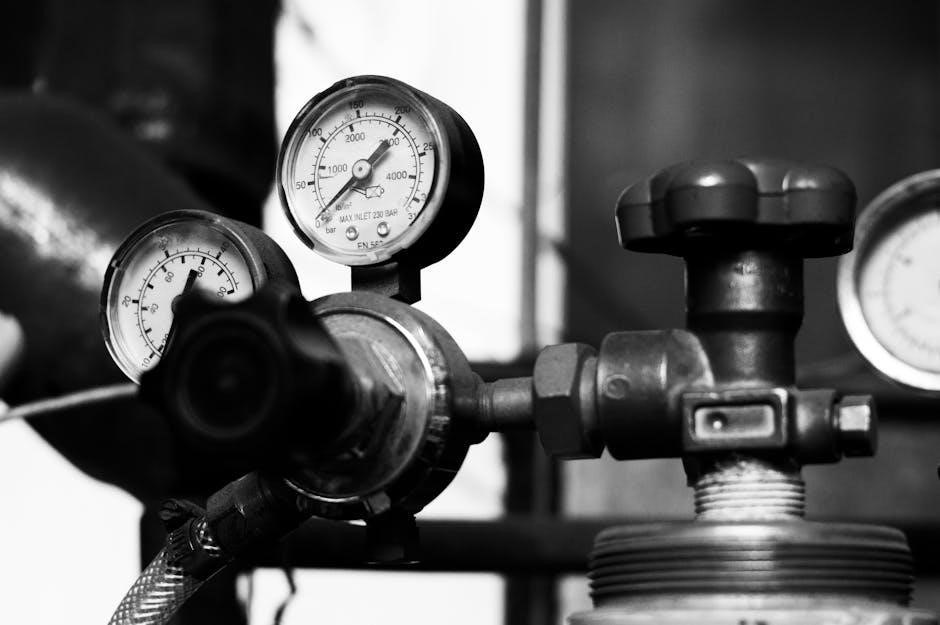
Peak Current and Battery Capacity
The Avapow Jump Starter boasts an impressive peak current of 6000A, ensuring powerful jump-starting capabilities. With a high-capacity battery, it delivers reliable performance for multiple jumps on a single charge. Models like the Avapow T09B feature a 16,000mAh battery, while the A27 offers 84.36Wh capacity, designed to handle demanding situations efficiently and safely for both gasoline and diesel engines.
Compatibility with Gasoline and Diesel Engines
The Avapow Jump Starter is compatible with both gasoline and diesel engines, offering versatility for various vehicles. It supports gasoline engines up to 8 liters and diesel engines up to 8 liters, depending on the model. This wide range ensures reliable performance across different vehicle types, making it a practical solution for drivers with diverse needs and preferences.
Additional Features (LED Light, USB Charging, etc.)
The Avapow Jump Starter includes a built-in LED light for emergency illumination and dual USB ports for quick charging of devices. It also features a DC output for powering auxiliary equipment. These additional features enhance convenience, making the device a versatile tool for emergencies and everyday use. The LED light provides reliable lighting in dark situations, while the USB and DC outputs keep your devices charged on the go.
System Requirements and Compatibility
The Avapow Jump Starter is designed for 12V systems and is compatible with gasoline and diesel engines. It supports engines up to 8 liters for gasoline and 8 liters for diesel, ensuring safe and effective jump starting.
Voltage and Battery Type Compatibility
The Avapow Jump Starter operates exclusively on 12V systems, ensuring compatibility with standard vehicle batteries. It supports gasoline and diesel engines, with specific models like the A27 and A58 optimized for 12V lead-acid batteries. This design guarantees safe and efficient performance across a wide range of vehicles, adhering to industry standards for battery and voltage requirements.
Engine Size Limitations for Gasoline and Diesel Vehicles
The Avapow Jump Starter is designed for vehicles with 12V systems, supporting gasoline engines up to 7 liters and diesel engines up to 4 liters. Specific models like the A27 and A58 may vary, with the A58 accommodating up to 10 liters for gasoline and 12 liters for diesel. Always check your vehicle’s specifications to ensure compatibility and safe operation.

Safety Precautions and Warnings
Always follow safety guidelines to avoid hazards. Never use the jump starter on 24V systems or vehicles with higher battery ratings than specified. Ensure proper connection to prevent short circuits and damage.
General Safety Guidelines
Always use the Avapow Jump Starter on 12V systems only, as specified. Avoid connecting to vehicles with higher battery ratings or different voltages. Ensure proper connections to prevent short circuits and damage. Keep the device away from water and flammable materials. Use in well-ventilated areas and follow all instructions carefully to ensure safe operation and avoid potential hazards.
Do’s and Don’ts When Using the Jump Starter
Always use the jump starter on 12V systems and follow the manual instructions. Connect clamps correctly: positive to battery positive, negative to a metal ground. Avoid reverse connections. Do not use on vehicles with higher battery ratings or non-12V systems. Never jump start damaged or frozen batteries. Store the device in a cool, dry place and charge it as recommended to maintain performance and safety.
Charging the Avapow Jump Starter
Proper charging is essential for maintaining the Avapow Jump Starter’s performance. Use the included USB cable and compatible wall adapter or car charger. Charge when the power is low and avoid overcharging. Store the device in a cool, dry place when not in use.
Step-by-Step Charging Instructions
To charge your Avapow Jump Starter, connect the USB cable to the device and plug the other end into a compatible wall adapter or car charger. Ensure the battery level is below 20% before charging. Use the included cable for optimal performance. Avoid overcharging by disconnecting once the LED indicator shows a full charge. Store the unit in a cool, dry place when not in use. Always refer to the manual for specific charging guidelines.
Recommended Charging Frequency and Duration
Charge your Avapow Jump Starter every 3-6 months when not in use to maintain battery health. Plug in the device for 4-6 hours using the provided USB cable and adapter. Avoid overcharging by disconnecting once the LED indicator shows a full charge. Store the unit in a cool, dry place to preserve battery life and ensure optimal performance over time.

Jump Starting a Vehicle
Learn how to safely jump start your vehicle using the Avapow Jump Starter. Ensure proper connections, follow safety guidelines, and start your engine with confidence and ease.
Pre-Jump Checks
Before jump starting, ensure the Avapow Jump Starter is fully charged and free from damage. Verify the voltage setting matches your vehicle’s battery. Locate the battery and identify positive and negative terminals. Wear protective gear and avoid loose clothing. Ensure all electronic devices in the vehicle are turned off. This ensures a safe and effective jump starting process.
Connecting the Jump Starter to the Vehicle Battery
Attach the positive (red) clamp to the vehicle’s positive battery terminal and the negative (black) clamp to a grounded metal surface. Ensure all connections are secure. Turn on the jump starter and proceed to start your vehicle. Always verify proper clamp attachments to avoid sparks and ensure safe operation.
Starting the Vehicle and Post-Jump Procedures
Once connected, start the vehicle’s engine. Remove the clamps in reverse order: black from the vehicle, then red. Let the engine run for 5-10 minutes to recharge the battery. If issues persist, check connections or consult the manual. Store the jump starter securely after use, ensuring it’s charged for future emergencies.
Additional Features and Functions
The Avapow Jump Starter includes a built-in LED light for emergencies, dual USB ports for charging devices, and a DC output for added versatility, enhancing its utility beyond jump starting.
Using the LED Light for Emergency Situations
The Avapow Jump Starter features a built-in LED light, perfect for illuminating dark environments during emergencies. Its bright output ensures visibility, making it an essential tool for roadside situations or power outages. The LED light is energy-efficient and designed to last, providing reliable illumination when you need it most.
USB and DC Output for Charging Devices
The Avapow Jump Starter includes dual USB ports and a DC output, enabling you to charge smartphones, tablets, and other devices on the go. The USB ports support quick charging, while the DC output is ideal for powering laptops or other compatible equipment. This feature makes the jump starter a versatile emergency power source for all your portable electronics.
Troubleshooting Common Issues
Identify and resolve common problems, such as charging issues or jump start failures, by checking connections and ensuring proper usage. Consult the manual or contact support for assistance.
Identifying and Resolving Battery Charging Problems
Check if the charger is properly connected to both the jump starter and a power source. Ensure the correct charging cable is used. If issues persist, reset the unit or contact customer support for assistance. Avoid using incompatible chargers to prevent damage. Refer to the manual for detailed troubleshooting steps and guidelines.
Diagnosing Issues with Jump Starting
If your vehicle fails to start, check for loose clamp connections and ensure correct polarity. Verify the jump starter’s battery level using the built-in display. If the issue persists, confirm compatibility with your vehicle’s engine size and battery type. Ensure the jump starter is fully charged and free from damage. Restart the process or consult the manual for advanced troubleshooting tips.
Maintenance and Storage Tips
Store the Avapow jump starter in a cool, dry place away from direct sunlight. Regularly charge the battery to maintain its health and avoid deep discharges. Clean the clamps and terminals to ensure proper conductivity. Avoid extreme temperatures and physical stress. Refer to the manual for detailed maintenance schedules to ensure optimal performance and longevity of your device.
Proper Storage Conditions
Store the Avapow jump starter in a cool, dry place, away from direct sunlight and flammable materials. Avoid extreme temperatures (below -20°C or above 60°C). Keep the unit away from moisture and humidity. Ensure the battery is not fully discharged during storage. Regular charging every 3-6 months is recommended to maintain battery health. Always follow the manual’s storage guidelines for optimal preservation.
Maintenance Schedule for Optimal Performance
Regular maintenance ensures your Avapow jump starter performs optimally. Inspect cables and clamps monthly for damage or corrosion. Charge the battery to full capacity every three months when not in use, avoiding overcharging. Clean the terminals with a soft, dry cloth to prevent corrosion. Check for firmware updates and install them as needed. Store the unit in a cool, dry place. Have the unit professionally serviced annually to maintain its efficiency and safety features.

User Manual Overview
The Avapow Jump Starter Manual provides a comprehensive guide to understanding and operating your device. It includes detailed instructions for safe usage, troubleshooting, and maintenance, ensuring you get the most out of your jump starter while maintaining its performance and longevity over time.
Downloading and Accessing the Manual
The Avapow Jump Starter Manual is readily available for download in PDF format from the official Avapow website or authorized retailers. Simply visit the support section, select your model (e.g., A27 or A18), and download the manual for free. Ensure you have a PDF viewer installed to access the guide, which provides detailed instructions for safe and effective use of your jump starter.
Navigating the Manual for Specific Instructions
The Avapow Jump Starter Manual is organized for easy navigation, with clear sections and headings. Use the table of contents or index to quickly locate specific instructions, such as charging procedures or troubleshooting tips. Each section is designed to guide you step-by-step, ensuring you can find the information you need efficiently and understand how to use your jump starter safely and effectively.
Final Tips for Safe and Effective Use
Always store the Avapow Jump Starter in a cool, dry place, away from direct sunlight. Regularly inspect cables and clamps for damage. Ensure the battery level is above 20% before storage. Avoid extreme temperatures and never use the device near open flames. After jump-starting, disconnect the jump starter immediately to prevent damage. Refer to the manual for detailed maintenance and safety guidelines.
Customer Support and Warranty Information
For inquiries or assistance, contact Avapow Customer Support via email or visit their official website. The product is backed by a limited warranty covering manufacturing defects. Register your device for warranty validation. Refer to the manual for detailed warranty terms and conditions. Ensure to follow all guidelines for warranty claims and support requests.