
Singer Sewing Machine Operation Manual: A Comprehensive Guide
This manual, dated 03/26/2026, serves as your partner for success, offering detailed instructions for operation and maintenance of Singer models, like the 99K.
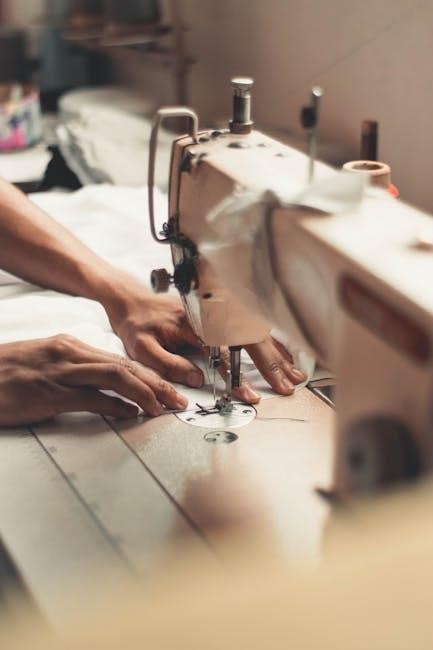
Singer sewing machines have a rich history, becoming household names synonymous with quality and innovation in the world of garment construction and creative textiles. For generations, these machines have empowered individuals to design, create, and repair clothing and various fabric projects. This operation manual aims to guide both novice and experienced users through the intricacies of operating your Singer machine effectively and safely.
Whether you’re embarking on simple mending tasks or complex quilting endeavors, understanding your machine’s capabilities is paramount. This guide, referencing resources dated March 26, 2026, and models like the 99K, will unlock the full potential of your Singer, ensuring a rewarding and successful sewing experience. Remember, safety is always the first consideration when operating any mechanical device.
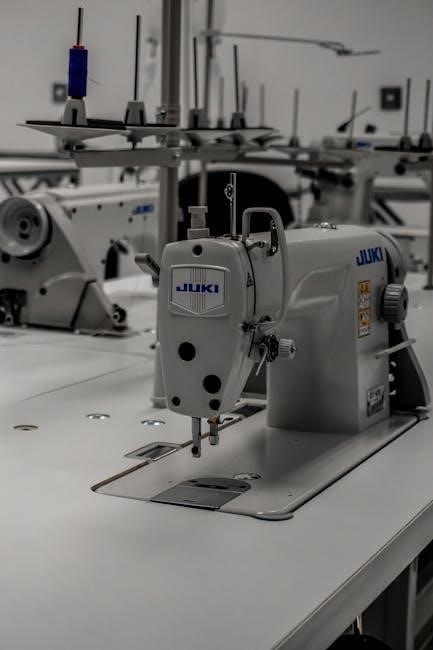
Understanding Your Specific Singer Model
Each Singer sewing machine model, even within the same family, possesses unique features and operational nuances. While this manual provides general guidance applicable to many machines – referencing information available as of March 26, 2026, and including models like the 99K – it’s crucial to familiarize yourself with the specifics of your particular machine.
Locate the model number, typically found on a plate affixed to the machine. Consult supplemental documentation, if available, or explore Singer’s official website for detailed information pertaining to your model. Understanding the specific stitch patterns, adjustable settings, and recommended needle types will optimize performance and prevent potential issues. Recognizing these distinctions ensures a tailored and efficient sewing experience.
Safety Precautions
Prioritizing safety is paramount when operating your Singer sewing machine, as emphasized in the user manual dated March 26, 2026. Always disconnect the power supply before performing any maintenance, including needle replacement or cleaning. Keep fingers away from the needle while the machine is running; accidental contact can cause injury.
Never force the fabric under the needle. Use appropriate needles for the fabric type to prevent breakage and potential hazards. Ensure the machine is stable and placed on a level surface during operation. Supervise children closely when they are near the sewing machine. Regularly inspect the power cord for damage and avoid using it if frayed. Following these precautions ensures a safe and enjoyable sewing experience.
Machine Components & Their Functions
Understanding each part – from the power switch to the feed dogs – is crucial for effective operation, as detailed in the Singer manual collection.
Power Switch & Foot Control
The power switch initiates operation, while the foot control governs sewing speed; gentle pressure yields slower stitching, and increased pressure delivers faster results. Familiarize yourself with the switch’s location – typically on the machine’s housing – and ensure it’s in the ‘off’ position when not in use.
The foot control, often resembling a pedal, provides nuanced speed control, essential for intricate work or beginner practice. Proper foot control technique minimizes errors and enhances sewing precision. Always disconnect the machine from the power source before any maintenance or component adjustments. Understanding these controls is fundamental, as highlighted in Singer manuals, for safe and efficient operation. Consistent practice will build confidence and skill.
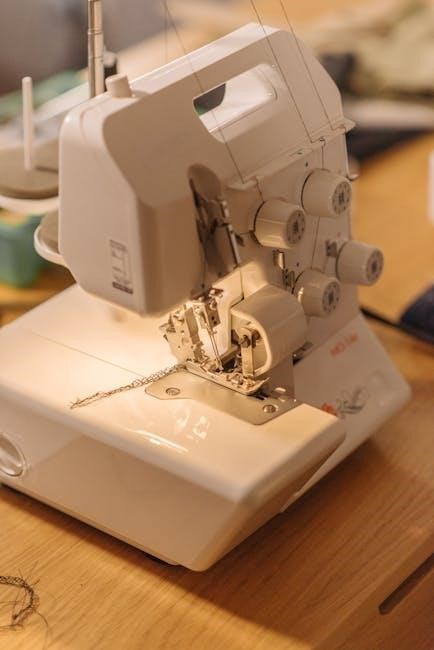
Spool Pin & Bobbin Winder
The spool pin securely holds the thread spool, allowing smooth unwinding during sewing. Different Singer models may feature variations in spool pin design – vertical or horizontal – but the function remains consistent. Ensure the spool rotates freely to prevent thread tangling.
The bobbin winder is crucial for preparing the lower thread. Engage the bobbin winder mechanism, following the manual’s specific instructions for your model, and guide the thread correctly. Proper winding ensures even thread distribution on the bobbin, preventing uneven stitches. Disengage the winder once the bobbin is full. Refer to your Singer manual for detailed diagrams and troubleshooting tips related to the bobbin winder, ensuring optimal performance and preventing common issues.
Thread Guides & Tension Discs
Thread guides are essential components directing the upper thread’s path from the spool to the needle, ensuring consistent and controlled thread flow. These guides minimize friction and prevent thread breakage. Always follow the threading path illustrated in your Singer sewing machine manual precisely.
Tension discs regulate the upper thread’s tightness, crucial for forming balanced stitches. Incorrect tension leads to looping or puckering. Adjust the tension dial based on the fabric type and thread weight. Experiment with slight adjustments to achieve optimal stitch quality. A properly adjusted tension ensures the upper and lower threads interlock correctly within the fabric, creating a strong and aesthetically pleasing seam. Consult your manual for specific tension settings recommendations.
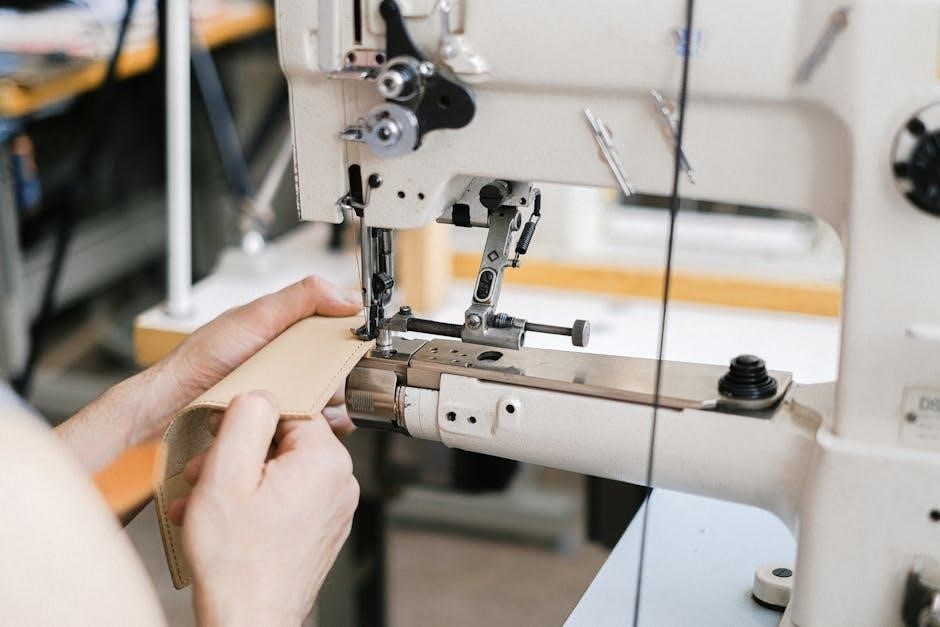
Needle & Presser Foot
The needle, a critical component, penetrates the fabric, forming stitches when combined with the bobbin thread. Selecting the correct needle type and size is paramount for optimal sewing performance. Different fabrics require different needle points and thicknesses – universal, ballpoint, or sharp needles are common choices. Regularly replace the needle to maintain stitch quality and prevent fabric damage.
The presser foot holds the fabric firmly against the feed dogs, ensuring even feeding during stitching. Various presser feet are available for specialized tasks, such as zipper insertion, buttonholes, or quilting. Ensure the presser foot is securely attached and adjusted to the appropriate pressure for the fabric being sewn. Proper presser foot pressure is vital for consistent stitch formation and preventing fabric slippage.
Feed Dogs & Stitch Length Dial
Feed dogs are the toothed metal pieces beneath the presser foot that advance the fabric during sewing. They work in coordination with the presser foot to ensure consistent and even fabric movement, creating uniform stitches. Ensuring the feed dogs are clean and free of lint is crucial for smooth operation; accumulated debris can cause skipped stitches or uneven fabric feeding.
The stitch length dial controls the distance between individual stitches. A shorter stitch length is ideal for delicate fabrics or intricate details, while a longer stitch length is suitable for heavier fabrics or quicker sewing. Adjusting the stitch length allows for customization based on the project requirements and desired aesthetic. Experimenting with different stitch lengths is key to achieving professional-looking results.
Threading the Singer Sewing Machine
Proper threading, both upper and lower, is essential for successful sewing; this guide details the procedures for optimal tension and smooth operation.
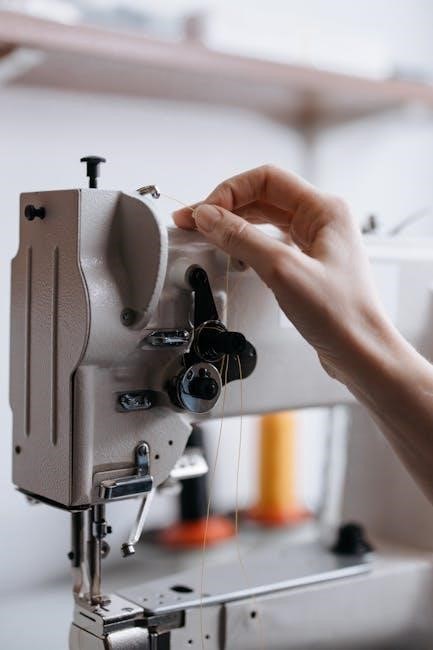
Upper Threading Procedure
Begin by raising the presser foot to disengage the tension discs, ensuring smooth thread flow. Place the spool of thread onto the spool pin, securing it with a spool cap if necessary. Guide the thread through the first thread guide, typically located on the top of the machine.
Next, follow the threading path indicated by arrows or numbers on your specific Singer model – these paths vary! Ensure the thread passes through all required thread guides and tension discs, applying gentle pressure. Continue threading the take-up lever, ensuring it’s in its highest position. Finally, thread the needle from front to back (or as directed by your manual), using the needle threader if needed. A correctly threaded machine is crucial for consistent stitch quality and preventing issues like thread breakage or skipped stitches.
Lower Threading (Bobbin) Procedure
First, ensure the machine is turned off for safety. Locate the bobbin winder, typically on the top or side of the machine. Place the bobbin onto the bobbin winder spindle and engage the winder mechanism. Wind the bobbin with thread, following your machine’s specific instructions for thread guidance and stopping point.
Once wound, disengage the bobbin winder and remove the bobbin. Open the bobbin case cover, usually located beneath the needle plate. Insert the bobbin into the bobbin case, ensuring the thread unwinds in the correct direction – consult your manual for specifics; Finally, guide the thread through the tension spring of the bobbin case and back up through the slot, preparing for the upper threading process. Proper bobbin threading is vital for balanced stitch formation.
Correct Thread Tension Adjustment
Achieving balanced thread tension is crucial for quality stitches. Incorrect tension leads to looping, puckering, or thread breakage. Begin by threading the machine correctly, both upper and lower threads. Test sew on a scrap fabric similar to your project material. Observe the stitch formation – ideally, the top and bottom threads should interlock evenly within the fabric layers.
If the bobbin thread pulls to the top, loosen the upper tension dial. Conversely, if the upper thread pulls to the bottom, tighten the upper tension. Make small adjustments, testing after each change. Remember that fabric weight and thread type influence optimal tension. Refer to your machine’s manual for specific tension guidelines and troubleshooting tips.
Basic Sewing Operations
Mastering fundamental techniques—winding the bobbin, inserting it correctly, starting/stopping, straight and zigzag stitching—unlocks your Singer’s potential for diverse sewing projects.
Winding the Bobbin
Preparing the bobbin is crucial for smooth sewing. Begin by placing the spool of thread onto the spool pin, securing it with a spool cap to prevent unwinding. Next, guide the thread through the designated thread guides leading to the bobbin winder.
Ensure the bobbin is correctly positioned on the bobbin winder spindle. Engage the bobbin winder mechanism, typically by pushing it to the right. Gently depress the foot control to start the machine, allowing the bobbin to wind evenly.
Monitor the winding process, stopping when the bobbin is nearly full to avoid overflow. Disengage the bobbin winder and remove the filled bobbin. Proper winding ensures consistent tension and prevents thread breakage during sewing, contributing to a successful project outcome.
Inserting the Bobbin
Correct bobbin insertion is vital for consistent stitch formation. Locate the bobbin case, typically found beneath the needle plate. Gently open the bobbin case cover. Insert the wound bobbin into the bobbin case, ensuring the thread unwinds in the correct direction – usually clockwise or as indicated by diagrams on the machine.
Guide the thread through the tension spring of the bobbin case. This ensures proper tension control. Close the bobbin case cover securely. Finally, draw up a few inches of the bobbin thread through the opening, ready for threading the upper thread.
A properly inserted bobbin guarantees balanced thread tension, preventing looping or puckering of the fabric during sewing, and ultimately, a professional finish to your creations.
Starting & Stopping the Machine
Initiating sewing requires a gentle touch. Ensure the machine is properly threaded and the fabric is positioned correctly under the presser foot. Begin by pressing the foot control pedal slowly and steadily. The machine will start to sew at a controlled speed, allowing for precision.
To stop the machine, simply release the foot control pedal. The needle will come to a complete stop in its current position. Never force the machine to stop; this can damage internal components. Always lift the presser foot before pulling the fabric away to avoid breaking the needle or distorting the stitches.
Consistent, controlled starting and stopping are key to achieving clean, accurate sewing results.
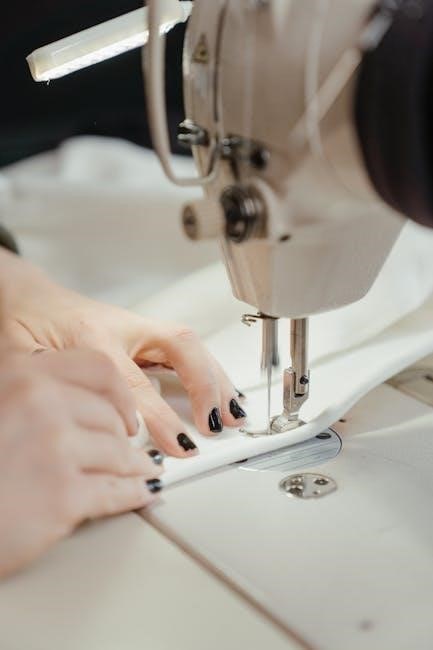
Straight Stitching
Mastering the straight stitch is fundamental to sewing. Select the straight stitch setting on your Singer machine – typically indicated by a straight line on the stitch selection dial. Ensure the stitch length is appropriate for your fabric; a medium length (around 2.5mm) is a good starting point for general sewing.
Begin sewing slowly, guiding the fabric gently with both hands. Avoid pulling or pushing the fabric, allowing the feed dogs to move it smoothly under the presser foot. Maintain a consistent seam allowance by using the markings on the needle plate as a guide.
Practice makes perfect! Consistent speed and gentle guidance will yield beautiful, even straight stitches.
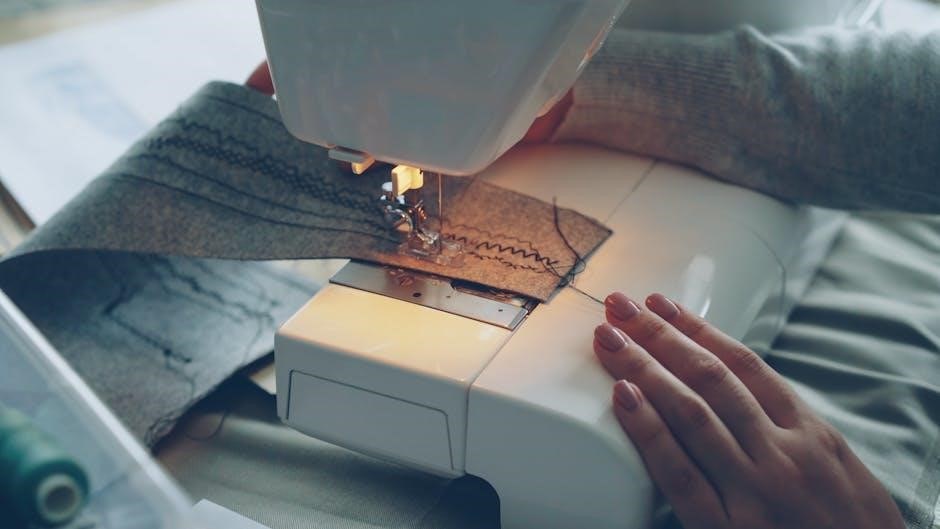
Zigzag Stitching
The zigzag stitch offers versatility beyond straight sewing. Select the zigzag stitch setting on your Singer machine, adjusting the stitch width and length using the corresponding dials. A narrower width is ideal for reinforcing seams, while a wider width creates decorative effects. Experiment with different settings to achieve desired results.
Begin sewing slowly, guiding the fabric as with a straight stitch. The zigzag stitch allows for stretch and prevents fabric fraying, making it perfect for knit fabrics or finishing raw edges. Observe how the stitch forms, ensuring consistent tension for a balanced appearance.
Practice varying the width and length to unlock the full potential of this adaptable stitch!

Advanced Sewing Techniques
Explore stitch adjustments, diverse presser feet, and fabric-specific methods to overcome challenges and unlock your Singer machine’s full creative potential.
Adjusting Stitch Length & Width
Mastering stitch customization is key to versatile sewing. The stitch length dial directly controls the distance between each stitch, impacting fabric strength and appearance. Shorter stitches are ideal for delicate fabrics and curves, providing greater control and preventing puckering. Conversely, longer stitches are suited for basting, gathering, or heavier materials where flexibility is desired.
Width adjustments, typically controlled by a separate dial or lever, determine the side-to-side extent of stitches like zigzag. A narrower width creates a denser stitch, while a wider width offers greater stretch and decorative potential. Experimentation is crucial; always test stitch settings on scrap fabric mirroring your project material; Incorrect settings can lead to skipped stitches, thread breakage, or fabric distortion. Refer to your specific Singer model’s manual for precise dial markings and recommended settings for various fabrics and techniques.
Using Different Presser Feet
Expanding your sewing capabilities relies on utilizing the correct presser foot. The standard foot excels at straight and zigzag stitching on woven fabrics. However, specialized feet unlock a world of possibilities. A zipper foot facilitates close-stitch applications along zippers and cording. A buttonhole foot automates precise buttonhole creation, ensuring consistent results.
For delicate fabrics, a walking foot evenly feeds layers, preventing shifting and puckering. A rolled hem foot creates professional-looking narrow hems on lightweight materials. Understanding each foot’s function and proper attachment is vital. Incorrect foot selection can damage fabric or produce unsatisfactory stitches. Always consult your Singer manual for foot compatibility and recommended applications. Regularly inspect feet for damage and ensure secure attachment before each sewing session.
Sewing Different Fabric Types
Successfully sewing diverse fabrics requires adjustments to your Singer machine. Lightweight fabrics, like chiffon, demand a finer needle (size 60/8 or 70/10) and reduced presser foot pressure to prevent puckering. Increase stitch length slightly. For medium-weight cottons and linens, a universal needle (size 80/12) and standard settings generally suffice.
Heavier fabrics, such as denim or canvas, necessitate a stronger needle (size 90/14 or 100/16) and potentially increased presser foot pressure. Reduce sewing speed. Always test stitch settings on a scrap piece of the fabric before beginning your project. Consider using a walking foot for slippery or multiple layers. Proper needle and thread selection are crucial for optimal results and preventing machine damage.
Troubleshooting Common Sewing Problems
Encountering issues? Thread bunching often indicates incorrect threading or tension. Re-thread both the upper and lower threads, ensuring proper engagement of tension discs. Skipped stitches can stem from a dull or incorrect needle; replace it with the appropriate size and type for your fabric. If the fabric puckers, reduce presser foot pressure or adjust stitch length.
Persistent problems might involve the timing of the machine, requiring professional servicing. A broken needle necessitates immediate machine stoppage and replacement. Always unplug the machine before attempting any repairs. Consult your manual for specific troubleshooting guidance related to your Singer model. Regular maintenance, as outlined in the care section, prevents many issues.
Maintenance & Care
Regular upkeep ensures longevity; cleaning, oiling, needle replacement, and belt checks are vital for optimal performance of your Singer sewing machine.
Cleaning the Machine
Consistent cleaning is paramount to maintaining your Singer sewing machine’s smooth operation and extending its lifespan. Before any cleaning procedure, always disconnect the machine from the power source to ensure safety. Begin by removing the bobbin case and any accumulated lint from the bobbin area using a small brush – a dedicated sewing machine brush is ideal.
Dust and lint can build up around the feed dogs and needle plate, hindering fabric movement; carefully brush these areas as well. For more stubborn lint, a vacuum cleaner with a brush attachment can be used, employing low suction. Wipe down the exterior surfaces of the machine with a soft, slightly damp cloth. Avoid using harsh chemicals or abrasive cleaners, as these can damage the finish. Pay particular attention to areas where oil may accumulate, as dust tends to cling to oil. Regular cleaning prevents malfunctions and ensures consistently high-quality sewing results.
Oiling the Machine
Proper lubrication is crucial for the longevity and performance of your Singer sewing machine. Refer to your specific model’s manual for designated oiling points, as locations can vary. Generally, key areas include the bobbin race, the shuttle hook, and any moving parts identified in the diagram within your manual.
Use only sewing machine oil – never use oil intended for other purposes, as it may be too thick or contain additives that can damage the machine. Apply oil sparingly, using an oiler or a small brush to target the specific points. Avoid over-oiling, as excess oil can attract dust and create a sticky residue. After oiling, run the machine briefly to distribute the oil evenly. Regular oiling, combined with consistent cleaning, will ensure smooth, quiet operation and prevent wear and tear on vital components.
Replacing the Needle
A dull or damaged needle can cause skipped stitches, fabric puckering, and even damage to your machine. Regularly inspect your needle for bends, burrs, or a blunt tip. To replace the needle, always power off and unplug the sewing machine. Loosen the needle clamp screw, remove the old needle, and insert a new needle with the flat side facing the back of the machine.
Ensure the needle is fully inserted into the clamp and tighten the screw securely. Use the correct needle type and size for your fabric – a universal needle works for many fabrics, but specialized needles are available for knits, denim, and other materials. Proper needle replacement is a simple maintenance task that significantly impacts sewing quality and prevents potential machine issues.
Belt Replacement
A broken or worn belt will prevent your sewing machine from operating. Replacement requires accessing the internal mechanism, so proceed with caution. First, disconnect the power supply. Remove any access panels to expose the handwheel and belt. Carefully note the belt’s routing before removal – a photograph can be helpful! Gently remove the old belt from the motor pulley and the handwheel.
Install the new belt, ensuring it’s properly seated on both pulleys. The belt should have the correct tension; not too loose, nor overly tight. Reattach the access panels and test the machine. A correctly installed belt will allow smooth, consistent operation of your Singer sewing machine, restoring its functionality.