The Catholic Last Rites are a sacred tradition offering spiritual comfort to the dying․ They include confession, anointing, and Viaticum, providing forgiveness, healing, and strength․ A Catholic Last Rites PDF guide helps families and priests prepare for this solemn ritual, ensuring dignity and hope in the final journey․
History and Significance of Catholic Last Rites
The Catholic Last Rites trace their origins to apostolic times, evolving over centuries as a source of comfort and spiritual strength․ A Catholic Last Rites PDF guide reflects this rich history, offering clarity and solace to the faithful in their final moments․
Origins of the Sacrament
The Catholic Last Rites, also known as Extreme Unction, trace their origins to biblical times, where anointing the sick was a common practice․ Jesus often healed through touch, inspiring early Christians to continue this tradition․ The sacrament evolved over centuries, influenced by Church councils like Trent and Vatican II, which formalized its role in preparing the soul for death․ The “Catholic Last Rites PDF” provides a detailed guide, outlining rituals such as the anointing with holy oil and the administration of Viaticum, the final communion․ These practices aim to offer spiritual comfort and purification, rooted in apostolic traditions and Church teachings․ The guide also addresses variations in observances across different cultures, ensuring a unified approach to this sacred ritual․
Evolution of the Rite Over the Centuries
Evolution of the Rite Over the Centuries
The Catholic Last Rites have undergone significant evolution since their origins in apostolic times․ Initially, the sacrament focused on spiritual healing and preparation for death, with practices varying across regions․ The Council of Trent formalized the rite, emphasizing its sacramental nature and the use of holy oils․ Over centuries, the rituals became more standardized, with priests playing a central role in administering the sacraments․ In modern times, Vatican II brought reforms, shifting the focus from asolemn deathbed ritual to a more holistic approach to healing, both spiritual and physical․ The revised rites, introduced in the 1970s, reflect this change, offering comfort to the dying and their families․ A Catholic Last Rites PDF guide provides a comprehensive overview of these developments, ensuring the tradition remains relevant while honoring its sacred roots․ This evolution underscores the Church’s adaptability in addressing the spiritual needs of the faithful across generations․
Structure of the Catholic Last Rites
The Structure of the Catholic Last Rites involves a series of sacred rituals led by a priest, including prayers, anointing, and communion․ A Catholic Last Rites PDF guide outlines these steps, ensuring a reverent and organized approach․
The Role of the Priest in Administering the Rites
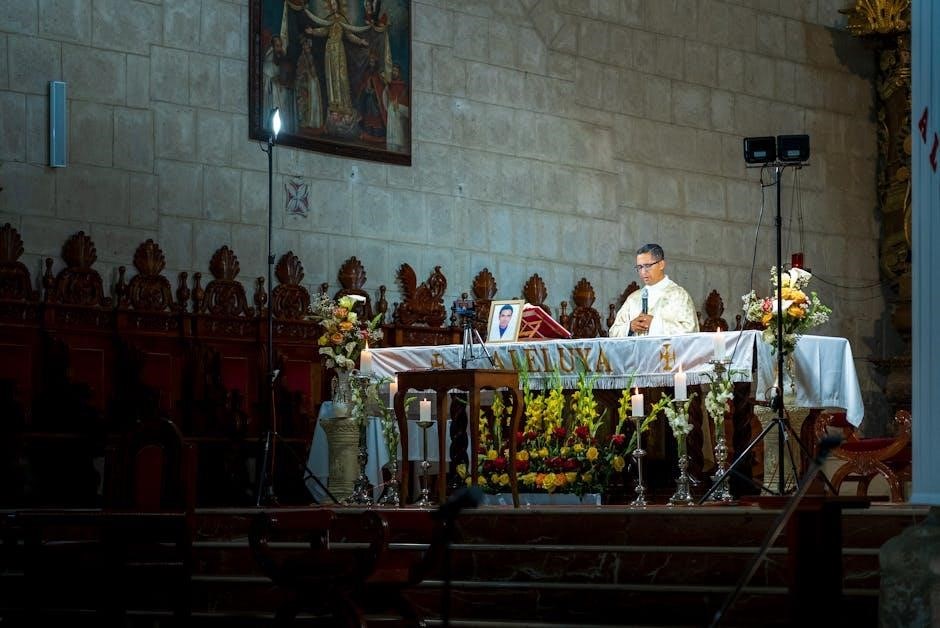
The priest plays a central role in administering the Catholic Last Rites, serving as a spiritual guide and intermediary between the faithful and God․ They perform the sacraments of Confession, Anointing of the Sick, and Viaticum, offering forgiveness, healing, and spiritual strength․ The priest’s presence ensures the rites are conducted with reverence and adherence to tradition․ A Catholic Last Rites PDF guide often includes prayers, liturgies, and instructions to help priests fulfill their duties compassionately․ The priest’s role extends beyond the rituals, providing comfort and hope to the dying and their loved ones․ Their administration of the sacraments is a profound expression of God’s mercy and grace in the final stages of life․
The Role of the Family and Loved Ones
Families and loved ones play a vital role in supporting the dying person during the Catholic Last Rites․ They provide emotional and spiritual comfort, creating a tranquil environment for the sacraments․ A Catholic Last Rites PDF guide often encourages family members to participate in prayers, such as the Litany of the Dying, alongside the priest․ Their presence reinforces the sense of community and faith, offering strength to the individual nearing death․ Loved ones may also assist in preparing the space for the rites, ensuring dignity and reverence․ Additionally, they serve as witnesses to the sacred moment, embodying the Church’s emphasis on communal support in times of sorrow․ Their role is not only to care for the physical needs of the dying but also to uphold their spiritual well-being, fostering hope and peace during life’s final journey․
The Sacraments Involved in Last Rites
The Catholic Last Rites include three key sacraments: Confession for reconciliation, Anointing of the Sick for spiritual and physical healing, and Viaticum for final Communion․ These rituals provide divine grace and comfort, guided by a Catholic Last Rites PDF for clarity and dignity․
Confession: The Sacrament of Reconciliation
Confession, or the Sacrament of Reconciliation, is a vital part of Catholic Last Rites․ It involves the dying person confessing their sins to a priest, who then grants absolution in God’s name․ This sacrament offers spiritual cleansing and reconciliation with God, providing peace and forgiveness․ The priest acts as a mediator, ensuring the person’s conscience is clear before receiving other sacraments like Anointing and Viaticum․ The Catholic Last Rites PDF guide outlines the prayers and rituals for this sacrament, helping priests and families navigate the process with dignity․ Confession is not just a formal act but a deeply personal moment of surrender and grace, allowing the individual to prepare their soul for eternal life․ It emphasizes God’s mercy and the Church’s role in facilitating spiritual healing during life’s final stages․ Through Confession, the faithful are reminded of Christ’s redemptive love and the promise of divine forgiveness․
Anointing of the Sick: The Sacrament of Healing
The Anointing of the Sick, also known as Extreme Unction, is a powerful sacrament within Catholic Last Rites․ It is administered by a priest to those nearing death or facing serious illness․ The ritual involves anointing the person’s hands, feet, and sometimes the head with blessed oil, accompanied by prayers for healing and forgiveness․ This sacrament seeks to strengthen the soul, grant spiritual peace, and forgive venial sins․ It is not a guarantee of physical healing but offers spiritual consolation and grace to endure suffering․ The Catholic Last Rites PDF guide provides detailed prayers and instructions for this sacrament, ensuring its proper administration․ The Anointing of the Sick reflects the Church’s compassion and belief in Christ’s healing power․ It is a meaningful moment of spiritual support, offering hope and comfort to the dying and their loved ones․ This sacrament underscores the Catholic belief in the interconnectedness of body and soul․
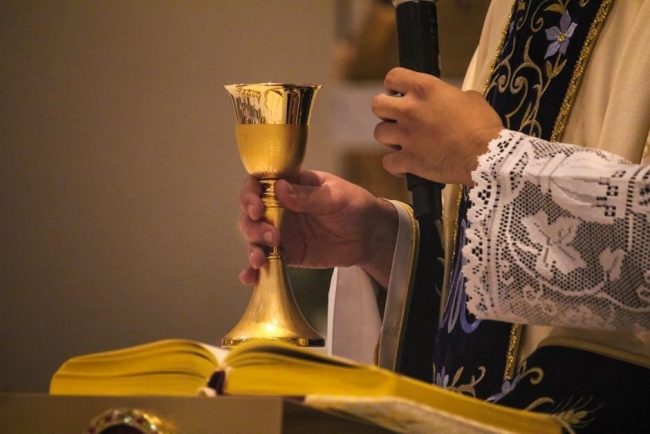
Viaticum: The Final Communion
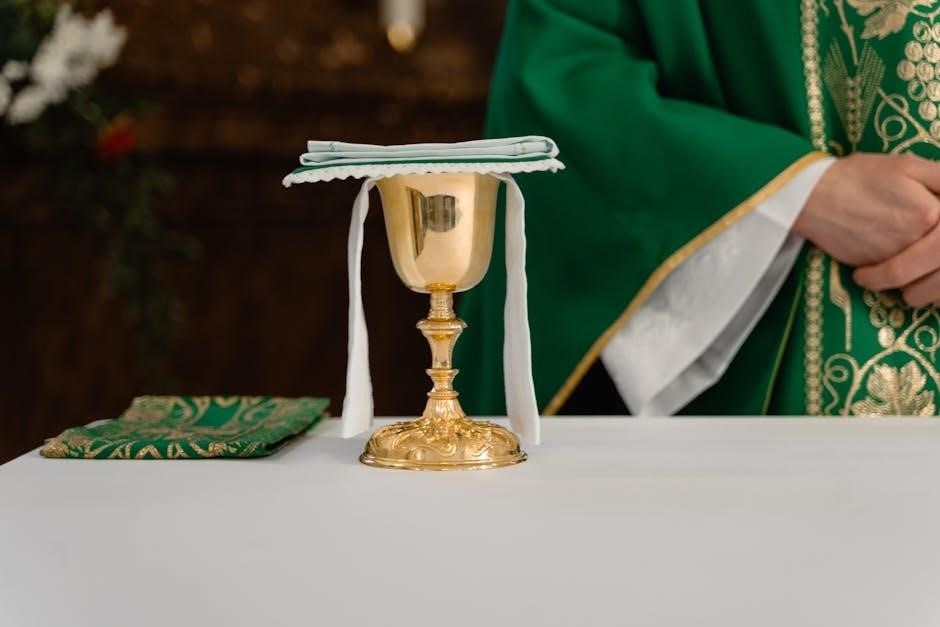
Viaticum, the final Communion, is a deeply symbolic and comforting part of the Catholic Last Rites․ It is the last sacrament received by the dying, often administered alongside the Anointing of the Sick․ The term “Viaticum” comes from the Latin word for “provisions for the journey,” signifying the soul’s passage to eternal life․ During this rite, the priest offers the Eucharist to the person, emphasizing Christ’s presence and strength in their final moments․ The Catholic Last Rites PDF guide outlines the prayers and rituals for this sacred moment, ensuring a reverent and meaningful experience․ Viaticum serves as a spiritual nourishment, offering peace and unity with God․ It is a profound expression of faith, hope, and love, providing comfort to both the dying and their loved ones․ This sacrament underscores the Catholic belief in the Eucharist as the source of eternal life and the ultimate preparation for meeting God face-to-face․

The Importance of the ‘Catholic Last Rites PDF’ Guide
A Catholic Last Rites PDF guide serves as a vital resource for understanding and preparing for the sacred rituals surrounding the end of life․ It provides a comprehensive overview of the sacraments, prayers, and traditions involved, ensuring clarity and accessibility for both the clergy and laity․ This guide is especially important for families and loved ones who may be unfamiliar with the process, offering them a sense of guidance and comfort during a difficult time․ By outlining the structure of the rites, including Confession, Anointing of the Sick, and Viaticum, the PDF ensures that these sacraments are administered with dignity and respect․ It also serves as a spiritual tool, offering prayers and reflections to support the grieving and the dying․ The guide bridges tradition and modern accessibility, making it easier for everyone to engage with this meaningful practice․ Ultimately, the Catholic Last Rites PDF is a compassionate and informative resource that honors the sacredness of life’s final journey․